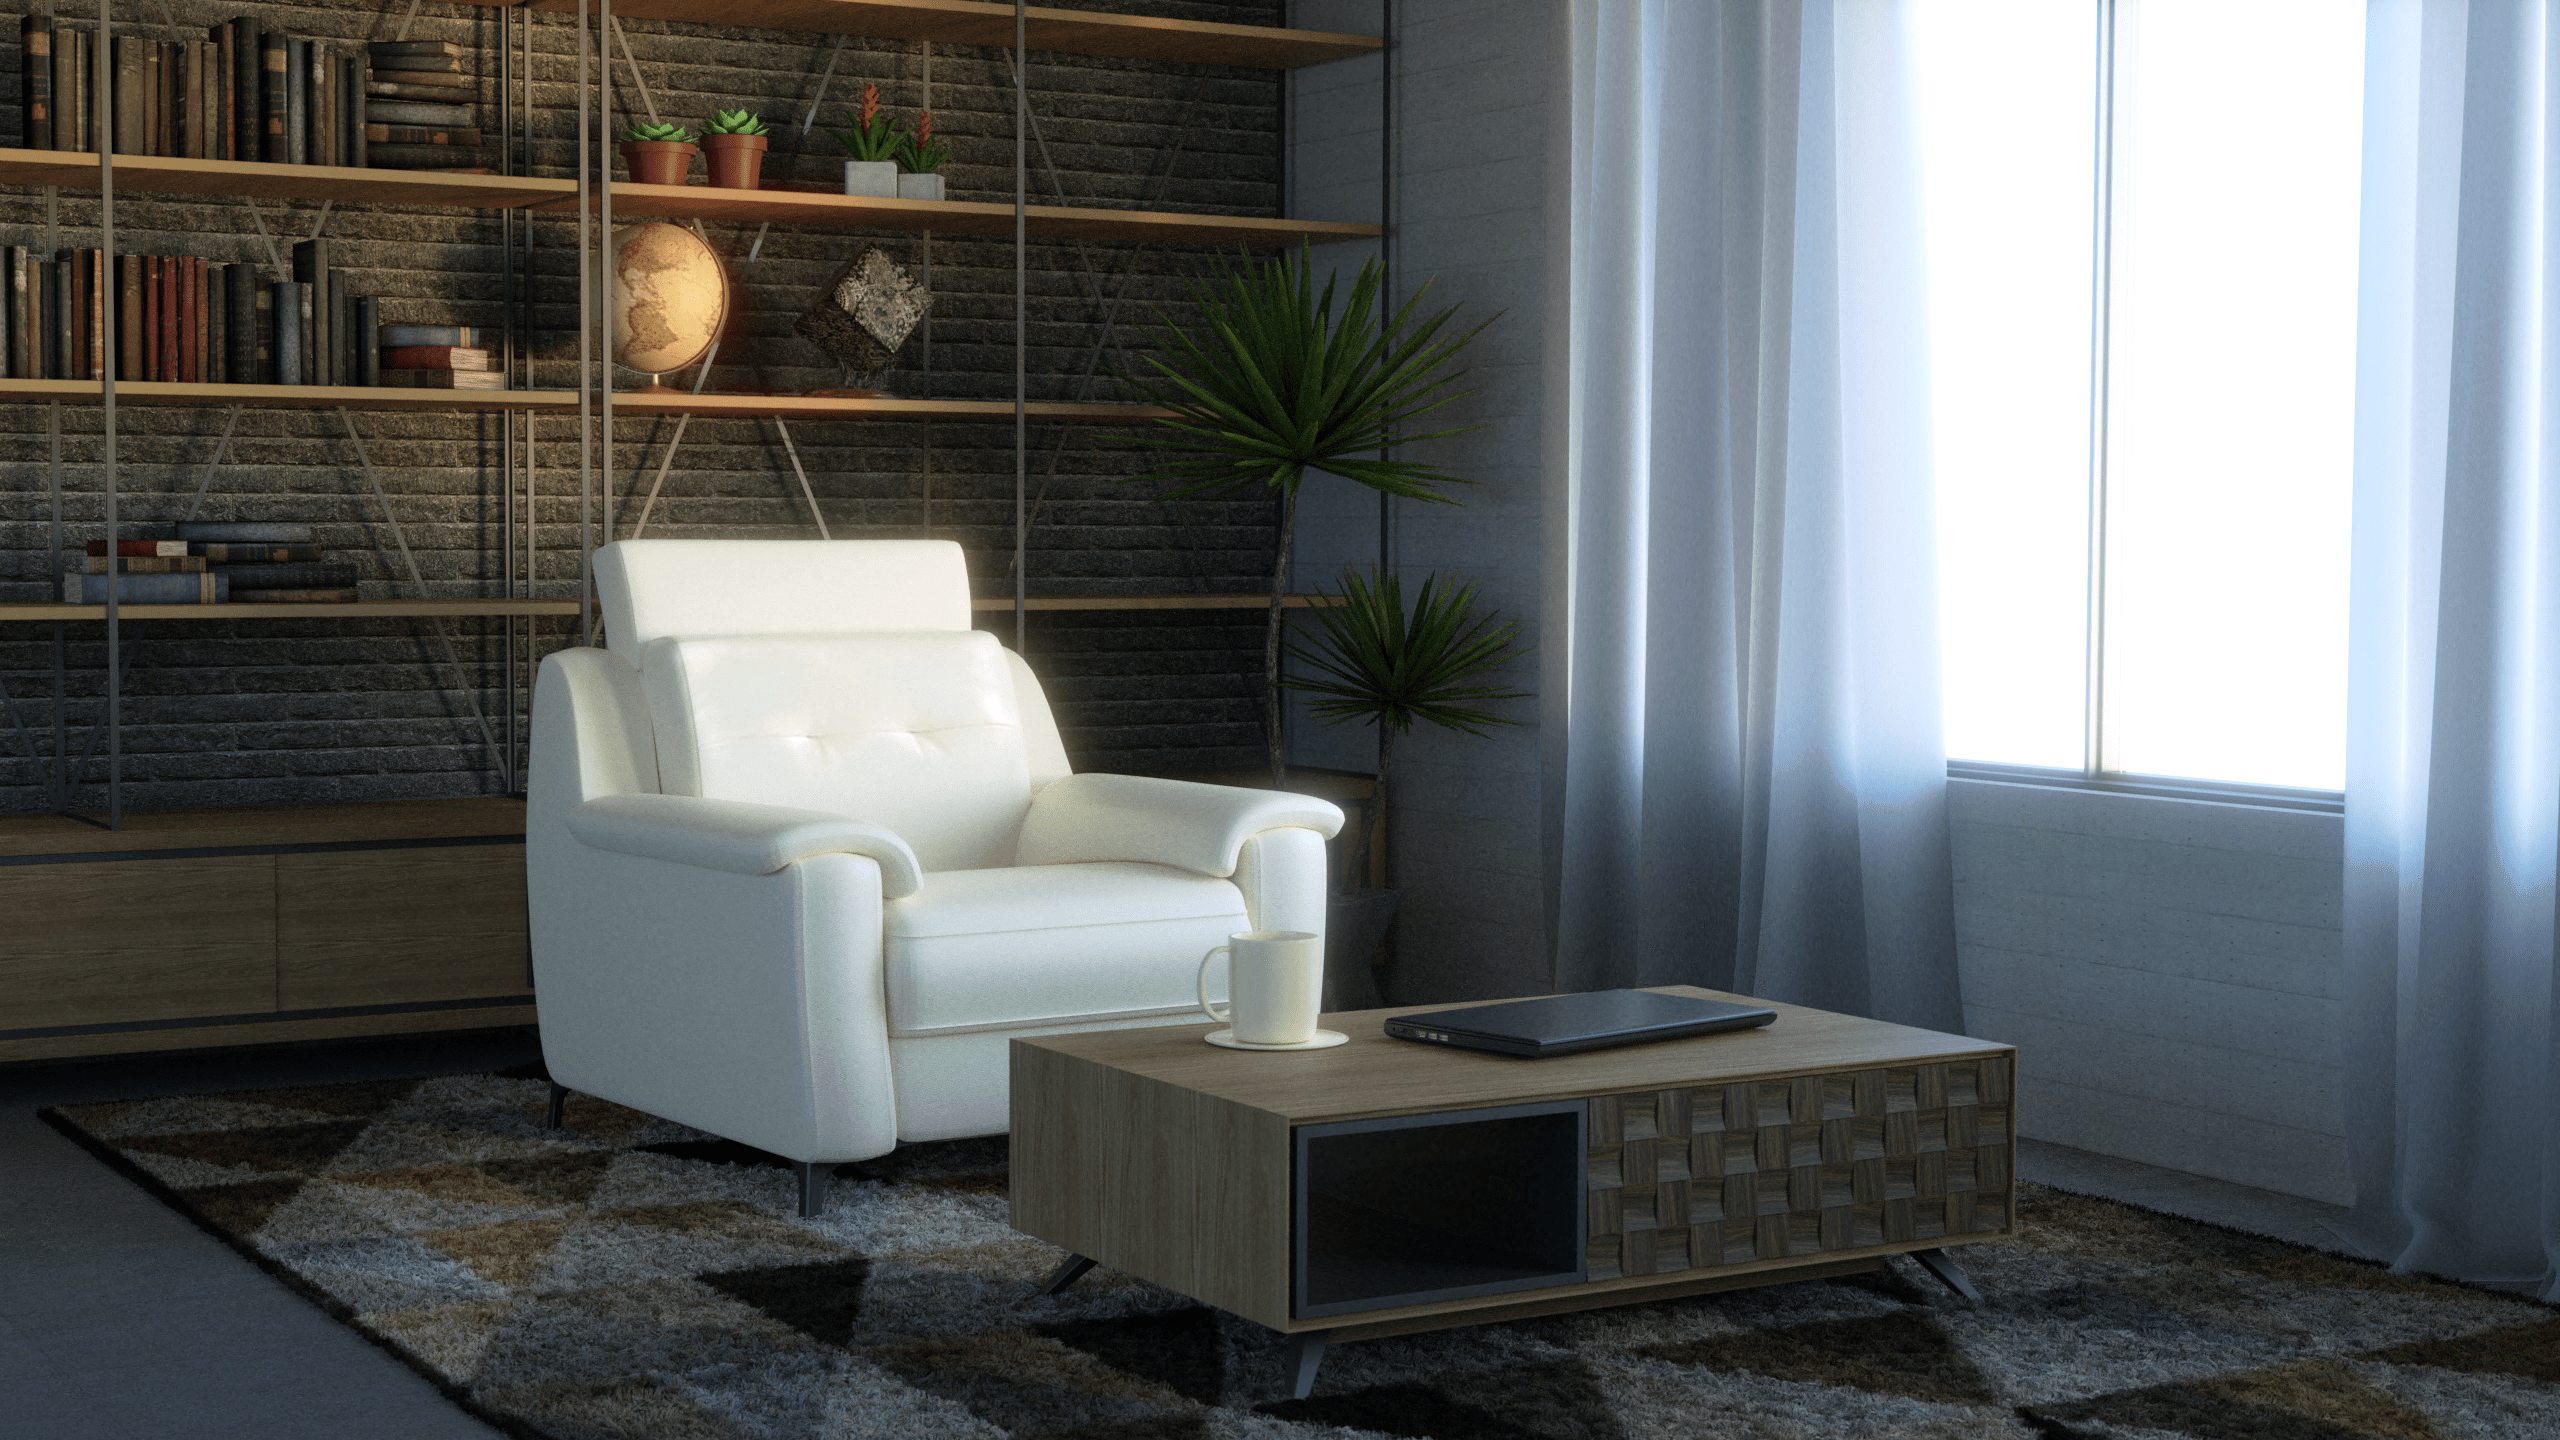
There is often a very small difference between what is real and what is imaginary. With 3D modeling this is often the case as well, since scenes can now come alive and be reproduced in highly realistic ways. Whether it is to develop an animation, create a model for a website or video games, the basics of 3D creation remain the same… In this article, we will show you the different steps in order to create a 3D modeling scene with WYLog.
To design these creations, our 3D experts use powerful tools such as Blender to make objects and surfaces, or MakeHuman software to design human meshes.
Before embarking on visual modeling, we focus on designing a storyboard that will serve to establish the project guidelines and highlight the general atmosphere of the visual that will be created.
Step 1: Blocking
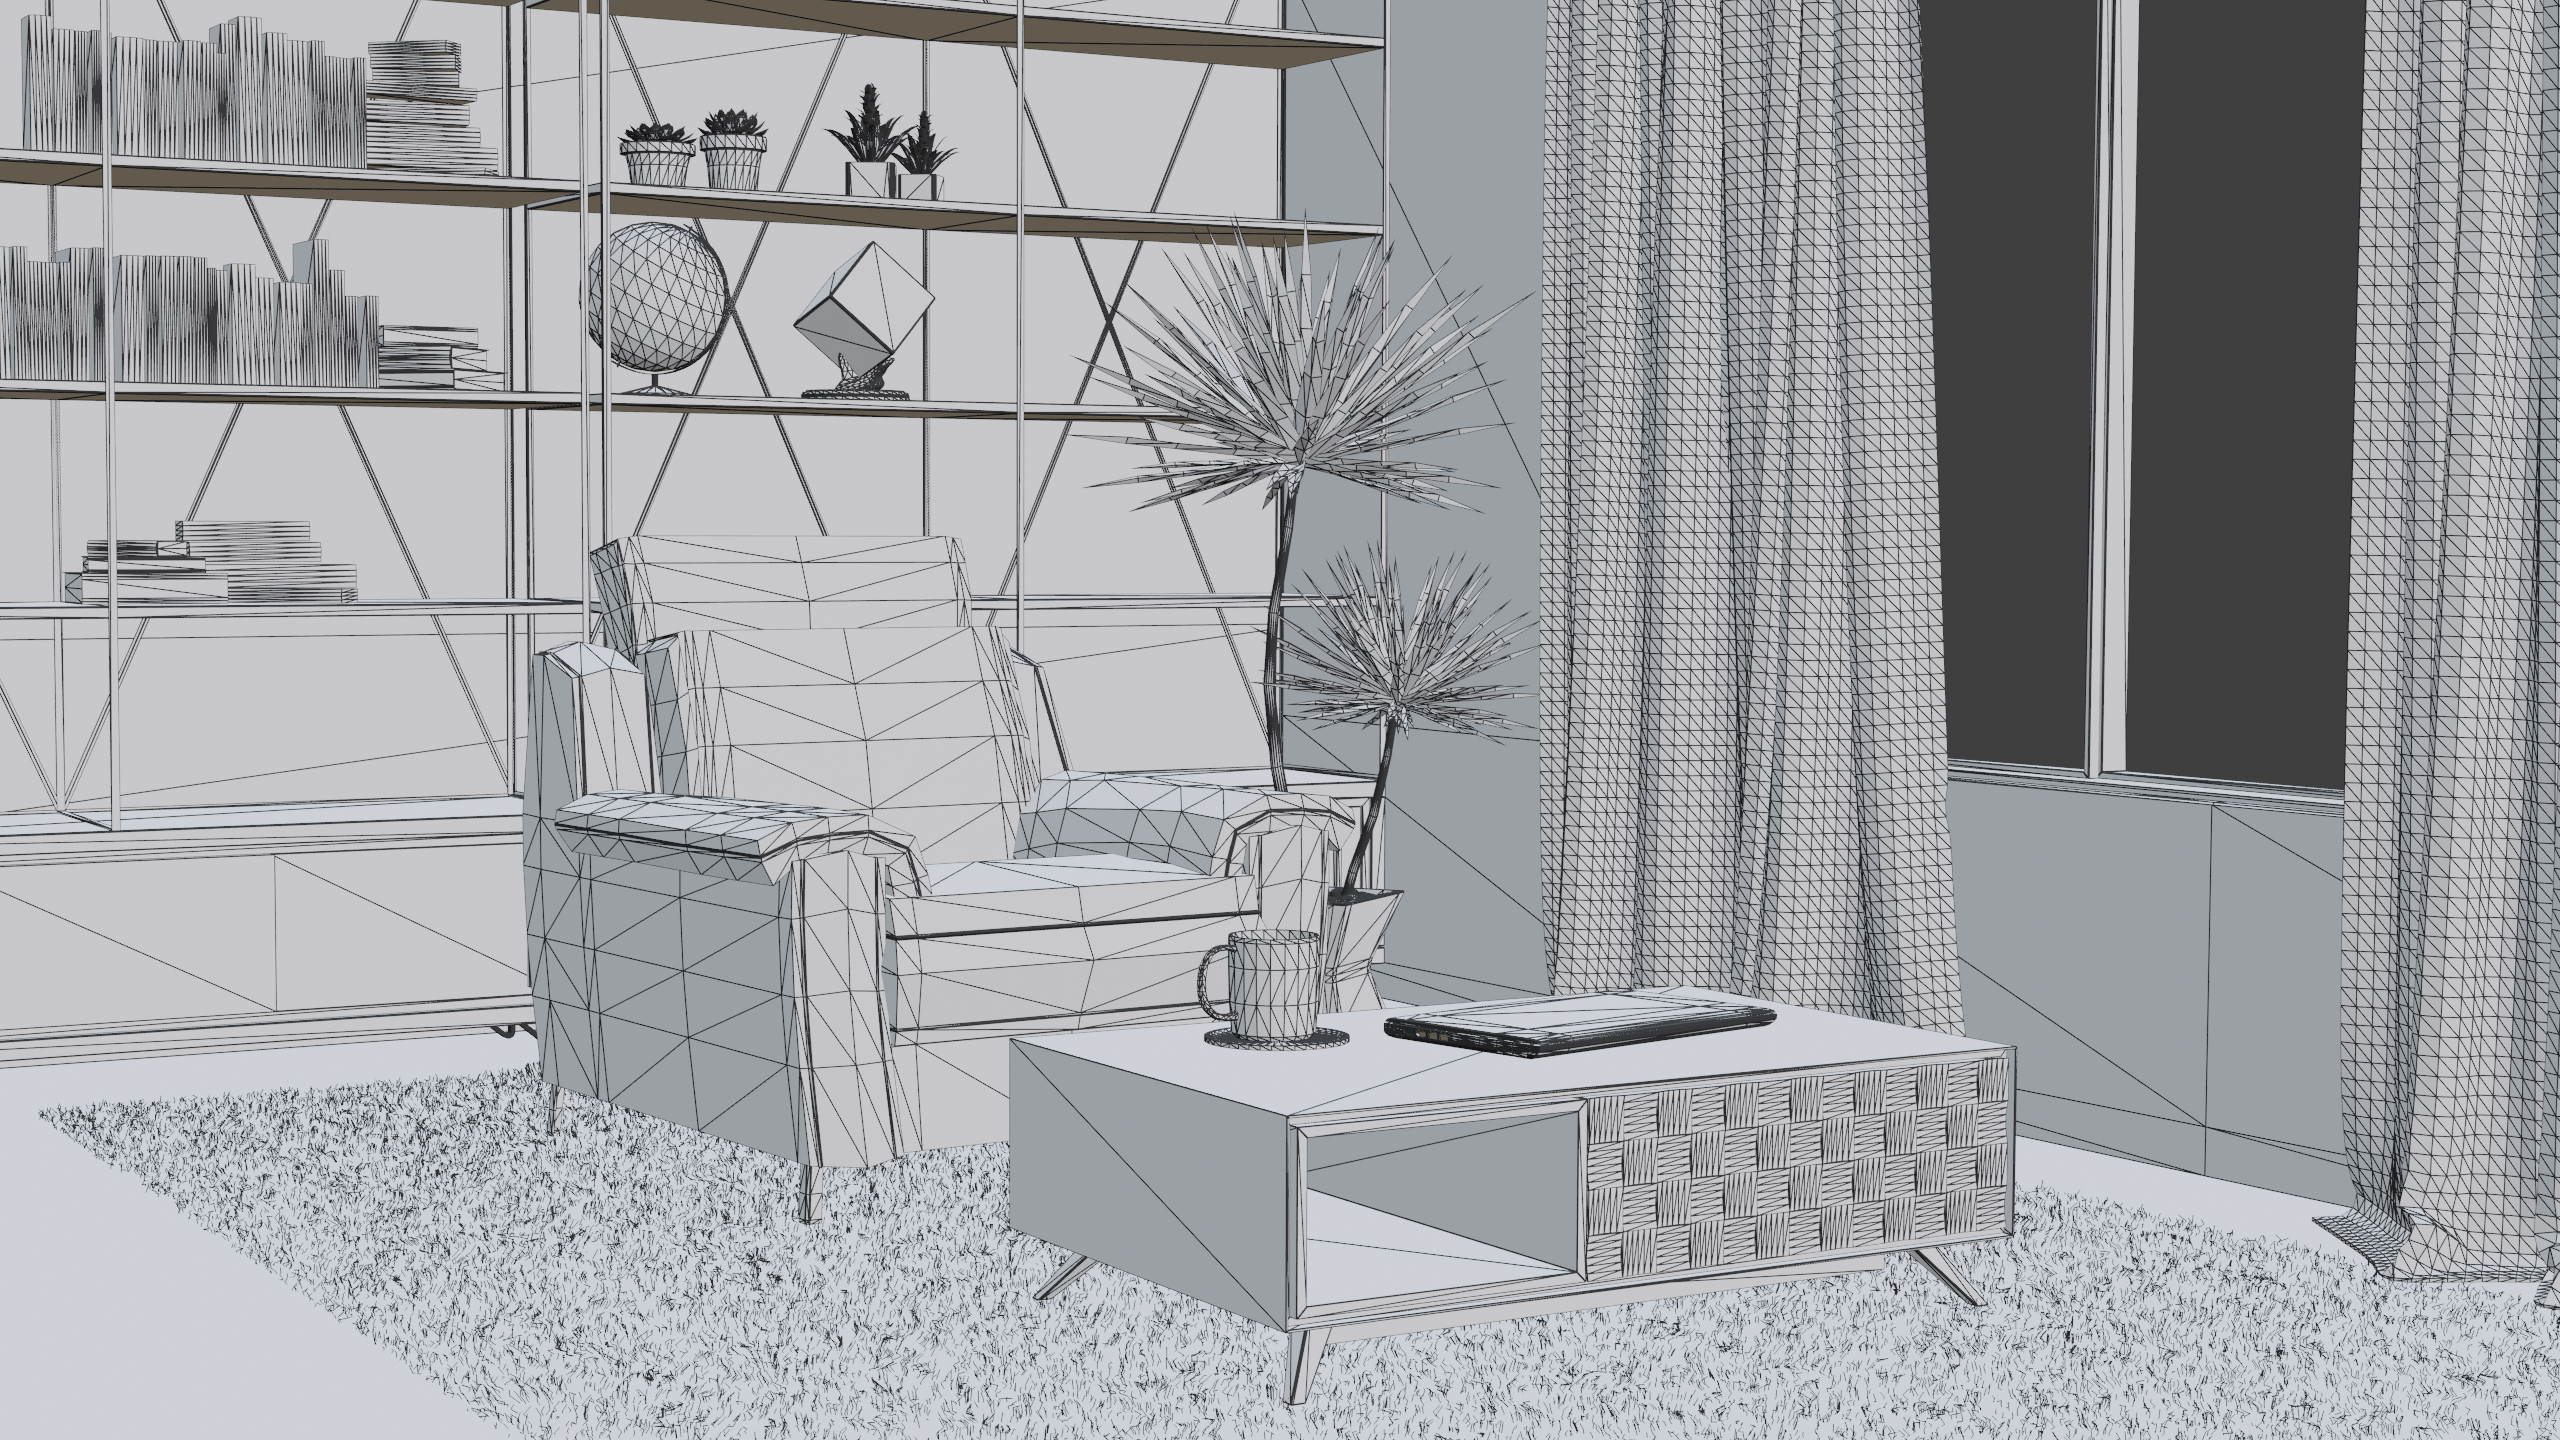
During the first step, the artist makes rough models of the 3D objects and arranges them to form a scene. He focuses on the shell and boundaries of the object. This step displays the keys poses and placements of the objects or characters that will be created.
Step 2: Detailing
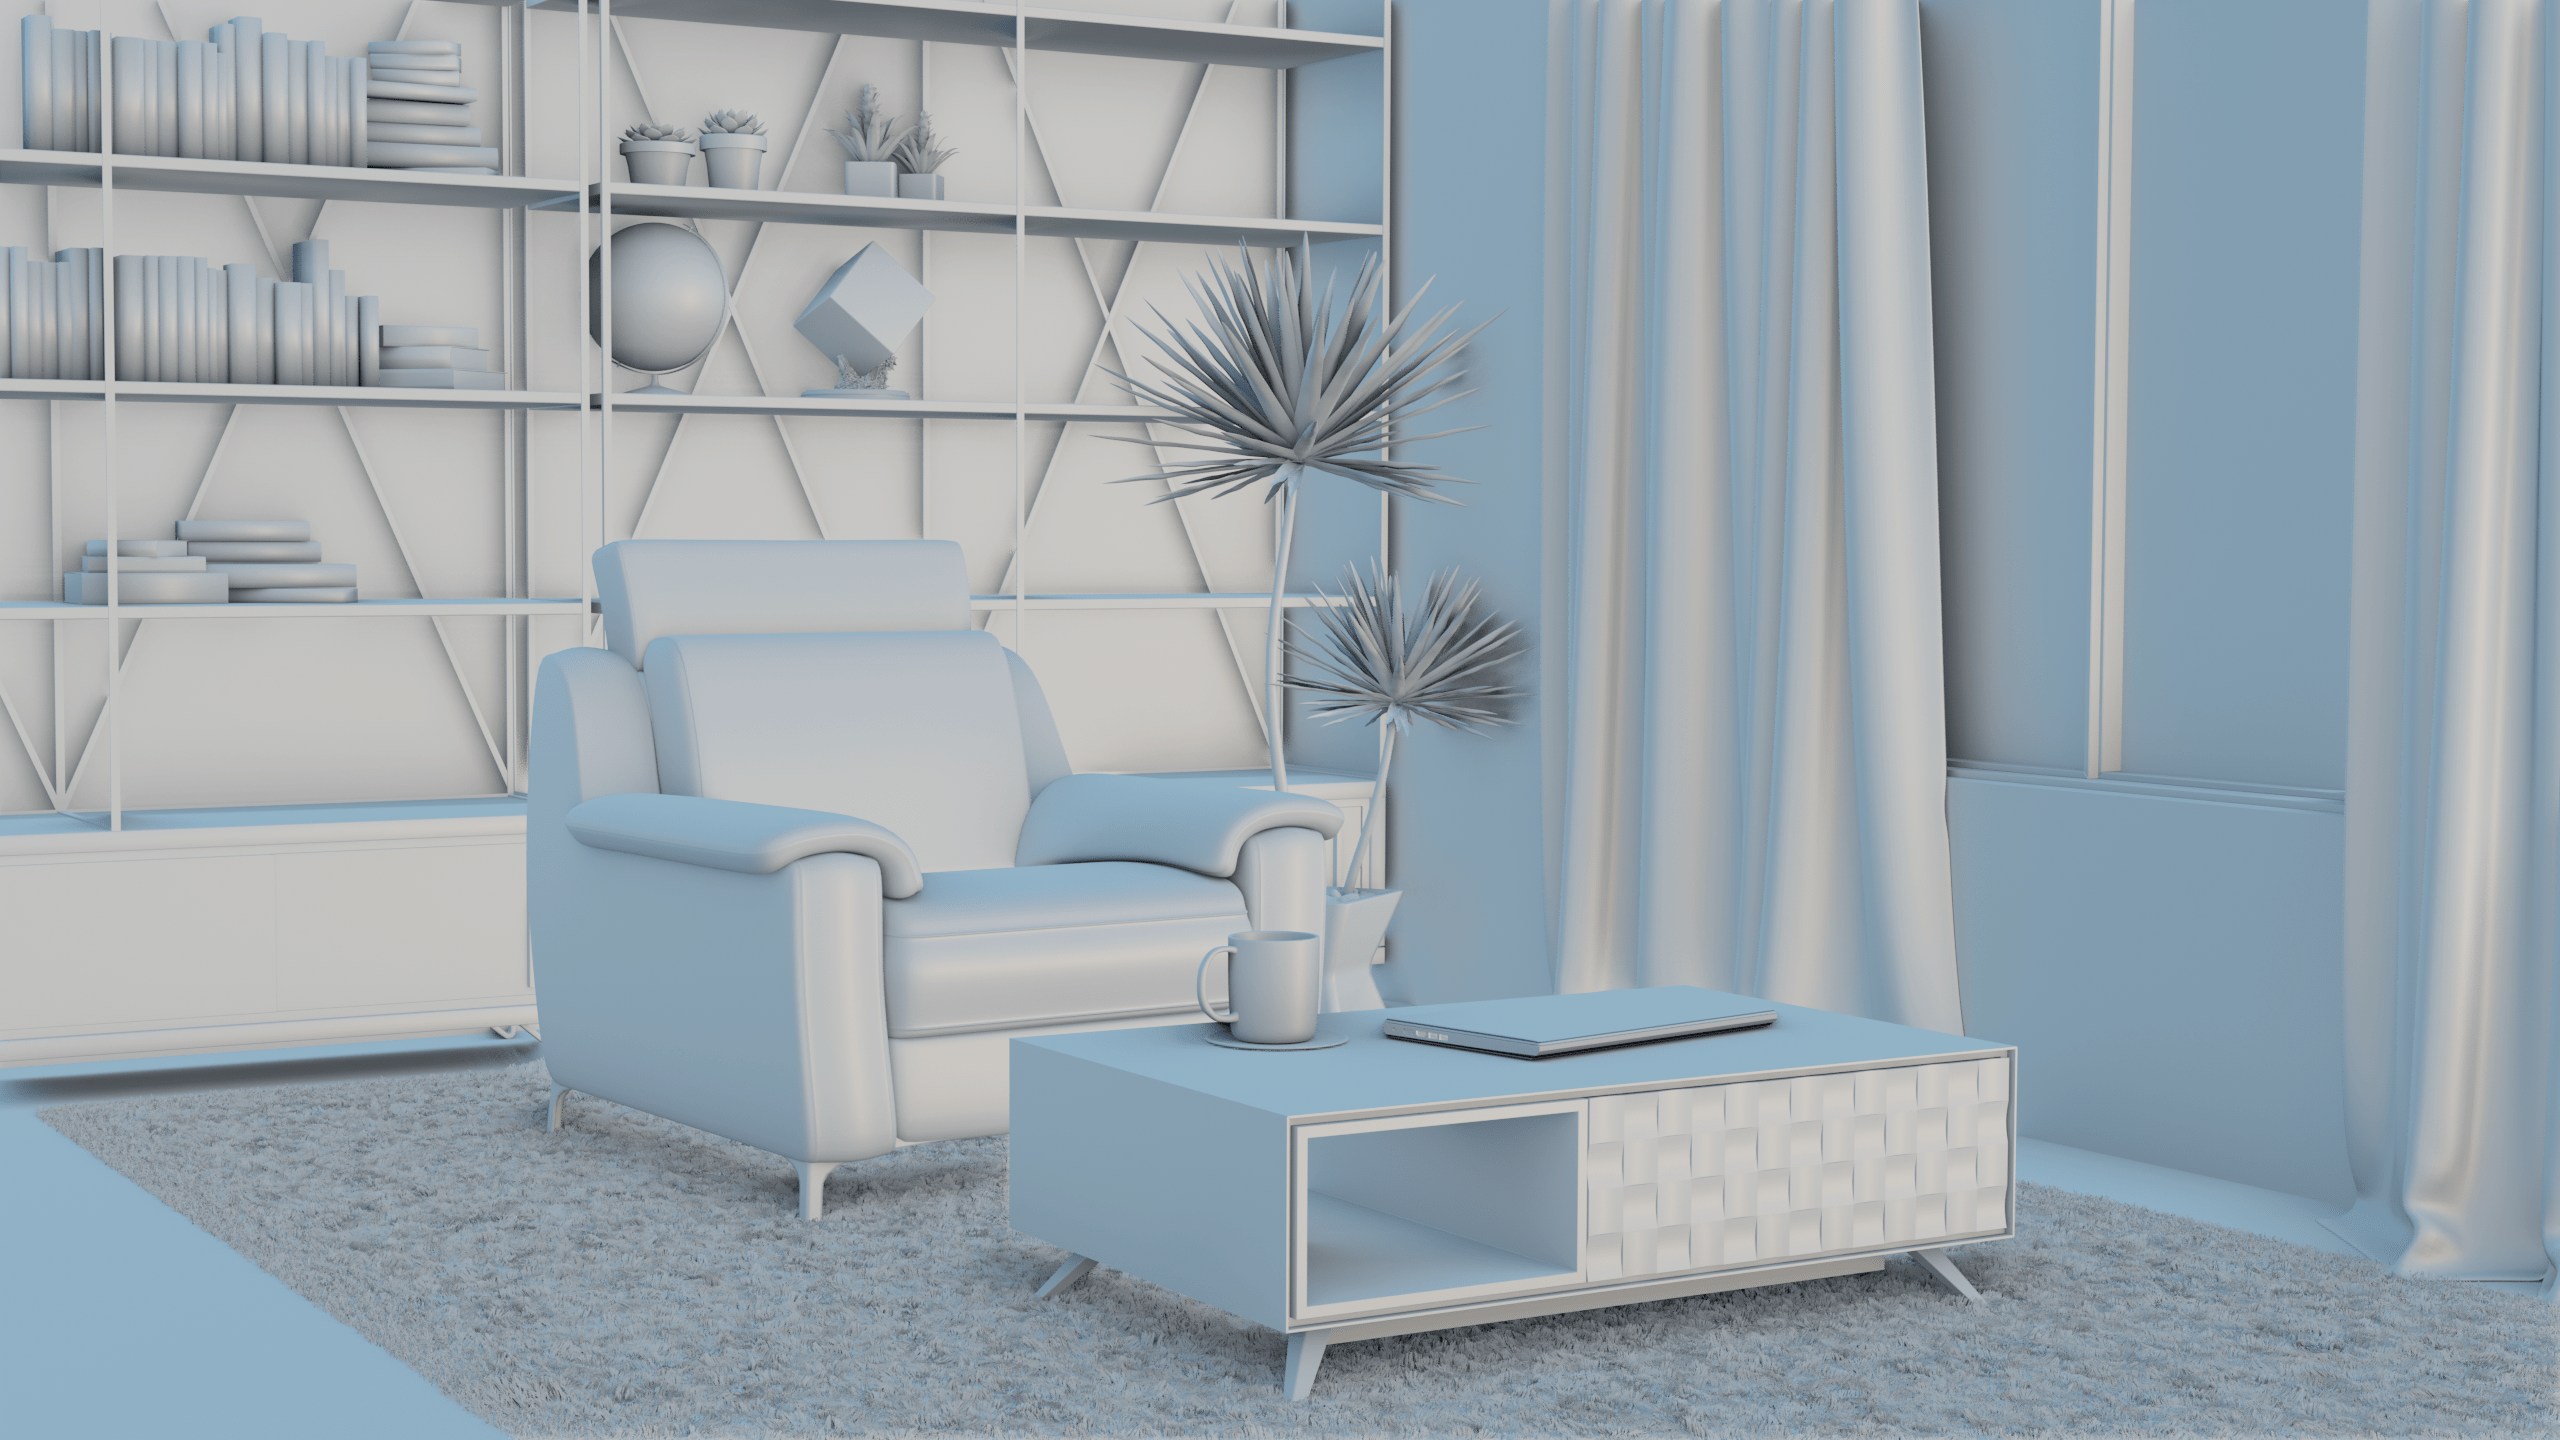
In this stage, the artist adds details to the initial 3D model blocks. Models look smoother and more detailed; they are close to their final shape. Some artists also set the lighting and the camera placements in this step in order to prepare the scene for texturing.
Step 3: Texturing
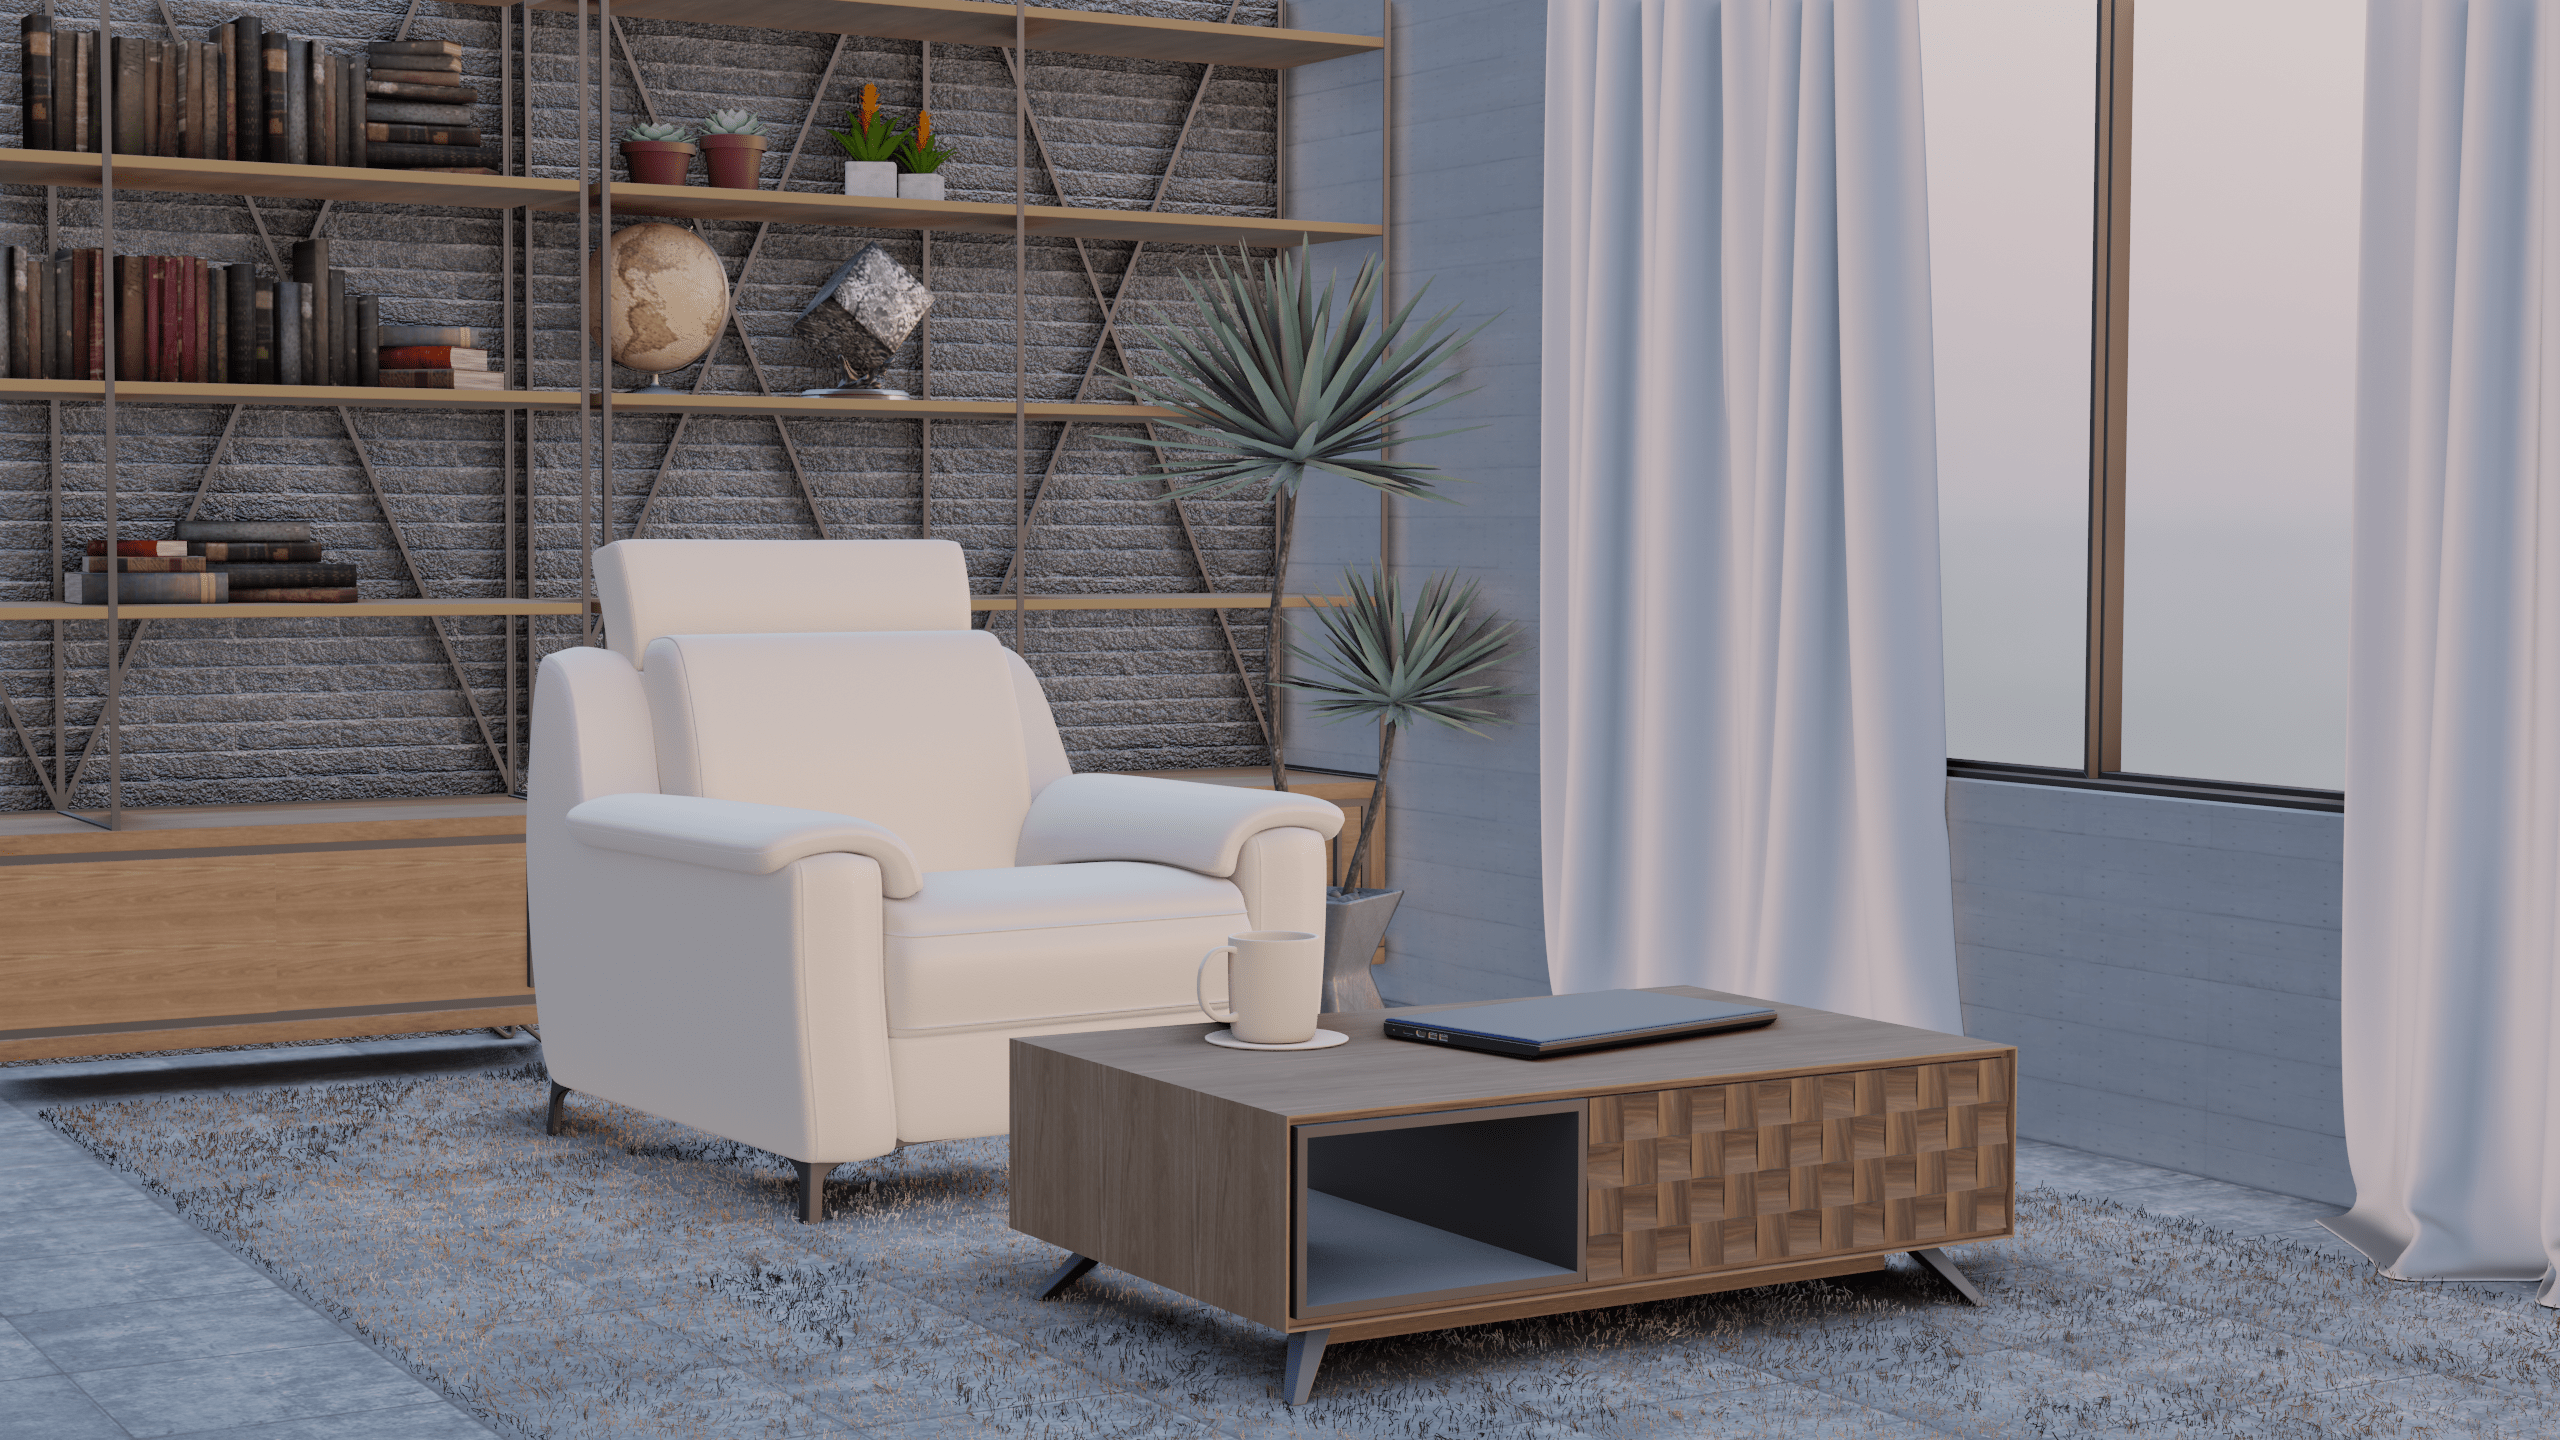
Now, let’s move to the texturation! Texturing allows the artist to make the model look more realistic by adding colors, designs and textures. In other words, it represents the art of giving clothes to 3D models. In this stage, you need to understand UV mapping, and how textures are used in different applications.
It’s during this stage that artists can make all the difference to make a scene realistic. So how do we proceed? Our 3D artists usually rely on pictures or material photos. In addition, it is also important to add details because a too perfect scene loses its credibility. Thus we don’t skimp on shadows, table corners, seals, etc.
Step 4: Rendering
Progressively, as the scene starts to become more detailed and precise, we get closer to the final result. Now that the texturing and lighting are completed, the artist proceeds to render the scene. Mistakes are usually revealed during this process and the artist adjusts his work accordingly. Imperfections are part of the real world, which is why a big part of our 3D team’s efforts will be to add some flaws to make the 3D model look more alive.
Step 5: Post Processing
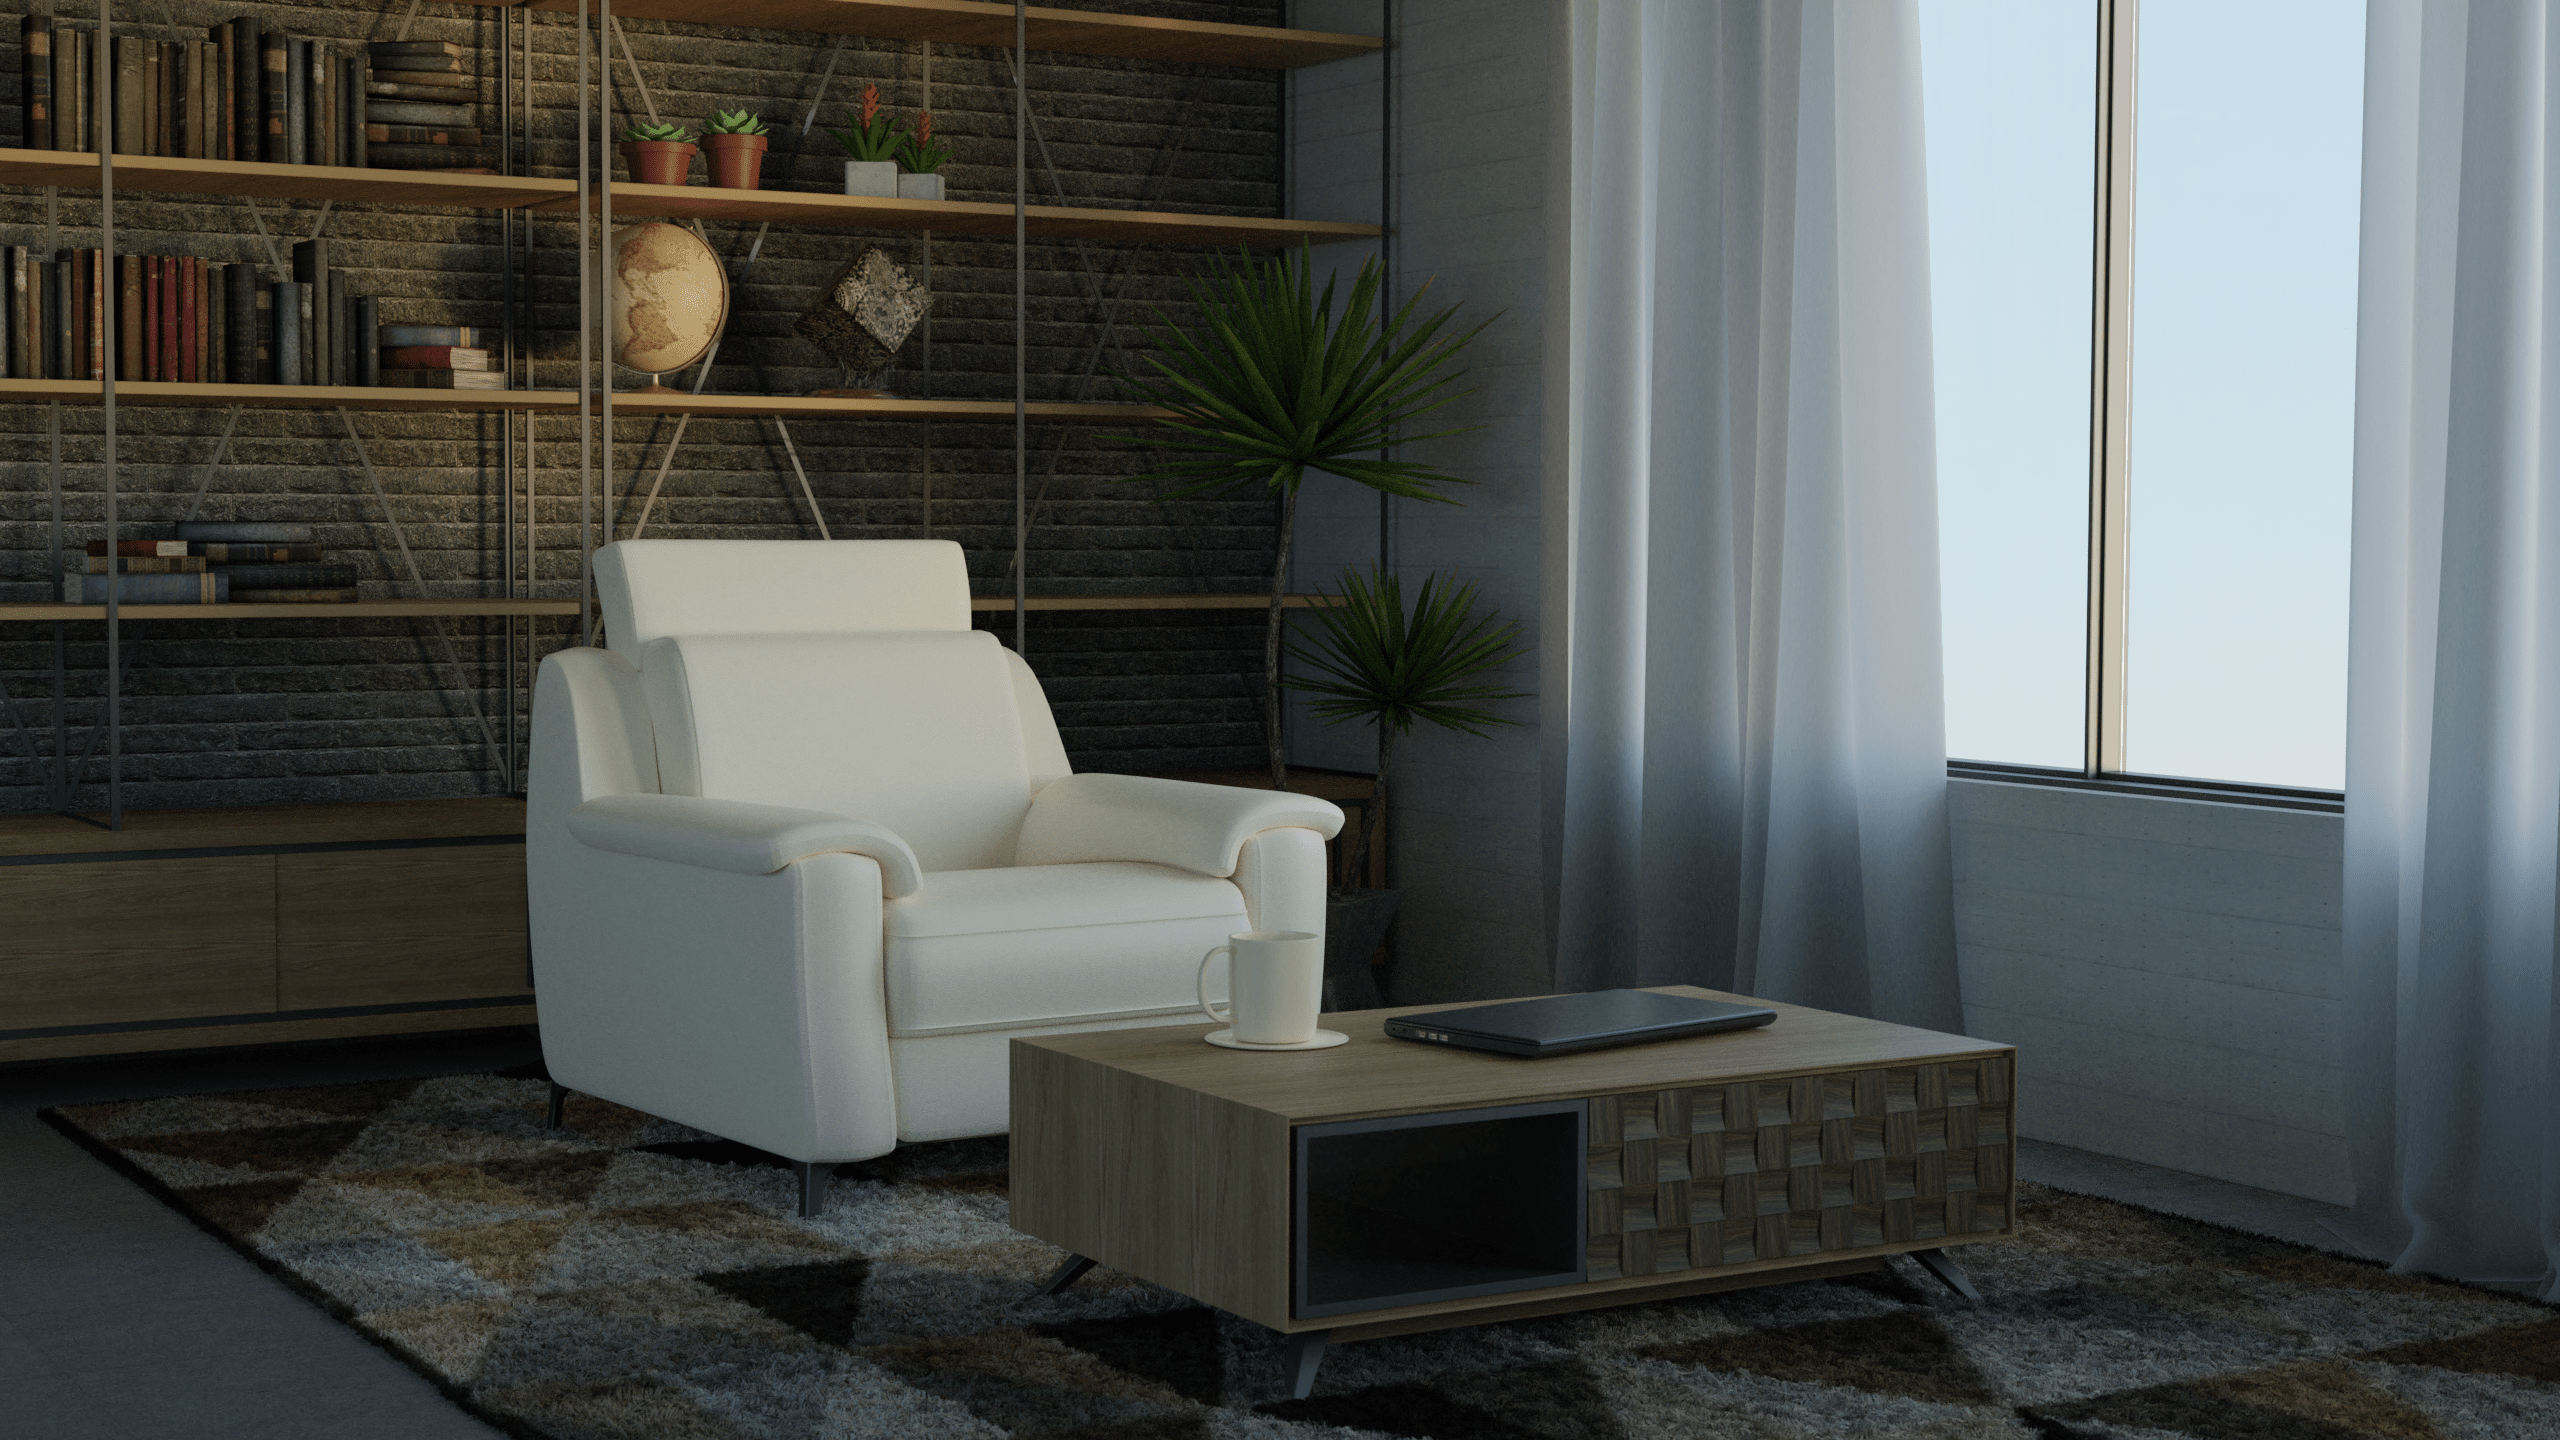
The final stage of every scene rendered is the post process. This is when the artist uses a post-processing software to further tweak the final render to bring out even more details. The render usually receives a color treatment, and some artists even add effects and use photo filters to make the scene more appealing. Lighting is also essential at this point to make the 3D model look as realistic as possible. Indeed, skilfully worked lighting has the potential to create more convincing scenes. Post-processing a 3D model is usually time-consuming and requires a lot of concentration to achieve the desired result.
Once the scene is completed, it’s time for the framing! The latter must be well thought out because it will influence the atmosphere that we will give to our visual. With the help of our 3D modeling softwares, we can zoom in on every detail and change angles as we want in order to choose the perfect point of view.
Once this last step is completed, we get to a detailed and realistic 3D object. At WYLog, the 3D models they create are generally used in augmented or virtual reality apps or videos games. If you have a project or need some assistance in the making of a 3D model, let us know so we can get you in touch with them.


